
One of the integral elements of quality online content is captions — something that often does not get much attention. Here are a few quick tips to work with captions in YouTube to get the best and most accurate transcript for your students.
Generate and Edit Captions:
As you may already know, YouTube provides the ease of generating automatic captions when you upload the video. Once the captions have been generated, you want to make sure that they are accurate and flow well with the narrative. The links below provide steps on how to generate and edit captions in YouTube.
How to Generate Automatic Captions in YouTube
How to Edit Captions in YouTube
Download Captions:
In addition to having the videos captioned, it’s a good practice is to have the captions readily available as a transcript in a format that can be easily downloaded by students. Here are the steps:
- Go to your video in YouTube.
- Click on the three dots located in the bottom panel of the video and click Open Transcript.
- Once you click that the transcript will open in a box next to the video.
- Click on the 3 dots that appear in the top panel and click Toggle timestamps.
- That will turn the time stamps off and leave only transcript text in the box.
- Highlight the text and copy paste it into notepad or a Word document.
- For quick formatting of the text you can use TEXTFIXER or a similar website.
- In the TEXTFIXER website, choose ‘Text Tools’, and then select ‘Remove Line Breaks from Text’.
- Select ‘Remove line breaks’ option and paste the text copied from YouTube.
- The box below will give you text without line breaks.
- Copy paste this text into a Word document.
- Review the document to make necessary corrections.
- Convert the Word document into a pdf format before uploading it into Blackboard.
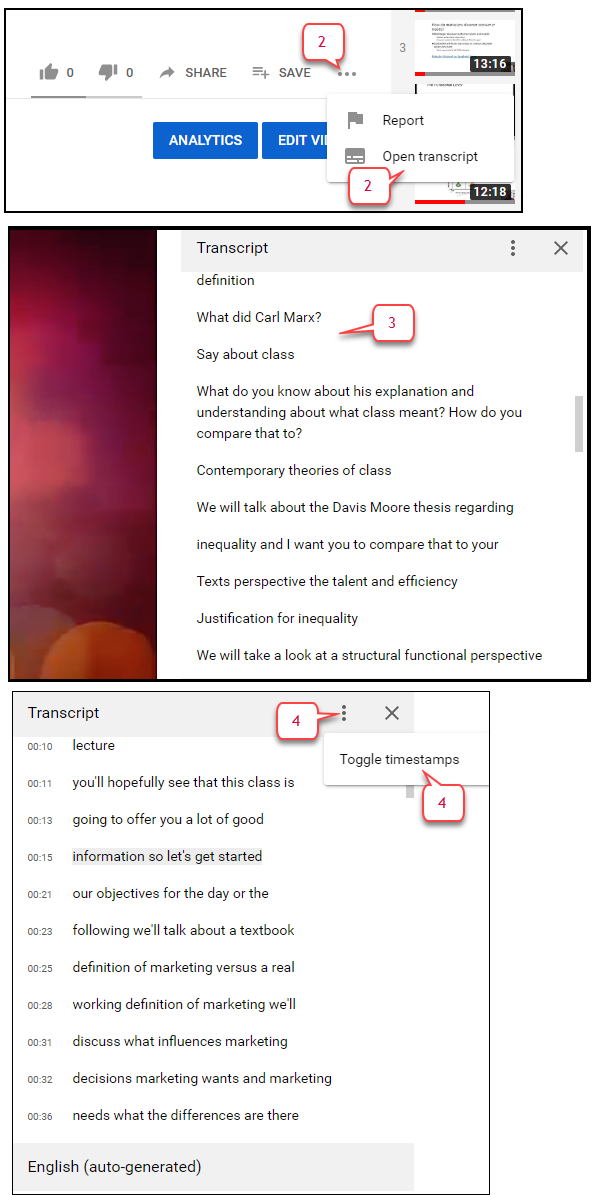
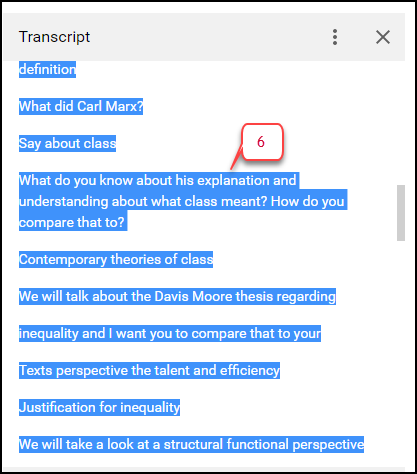
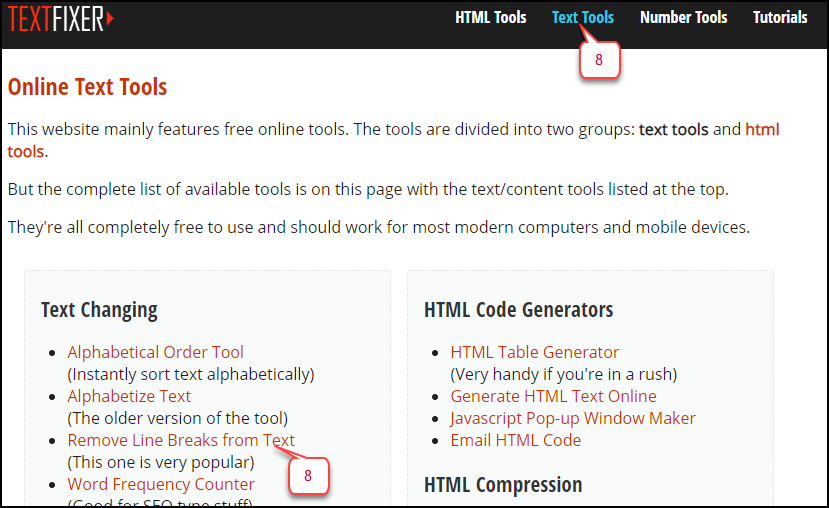
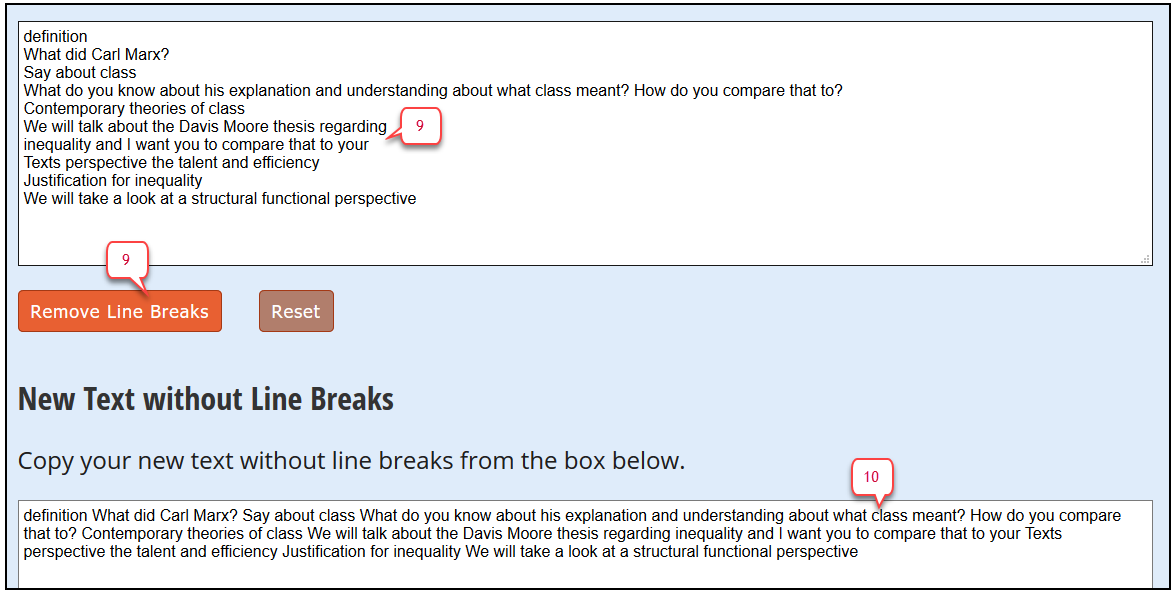
Image Source:
https://www.pexels.com/photo/mokup-smartphone-technology-phone-34407/
https://unsplash.com/photos/4QmSdCP4bhM


