- /
- /
- /
How to Share Content in a Live TEAMS Meeting
You can share your computer screen, window, Microsoft Whiteboard, or PowerPoint presentations in a live Team meeting.
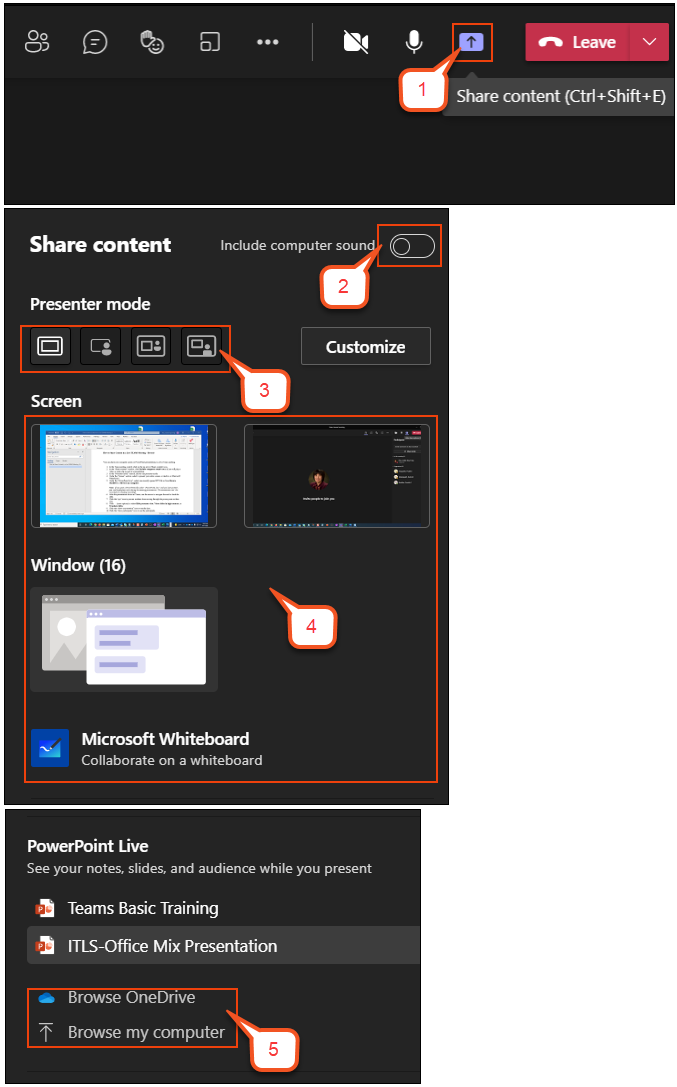
- In Team meeting control, click on the up arrow (Share content) icon.
Note: If you’re using a Mac, you’ll need to grant permission to Teams to record your computer’s screen before you can share. See the 2nd part, “Share content on a Mac,” in this “Share content in a meeting in Teams” tutorial. - In “Share content” window, click Include computer sound button if you will play a video or audio clip as part of a presentation.
- In “Presenter mode” section, choose one presenter mode you prefer.
- Select a screen to present your entire computer desktop, a window, or Microsoft Whiteboard
- In “PowerPoint Live” section, select one recently opened PPT file, or browse from OneDrive, or My computer.
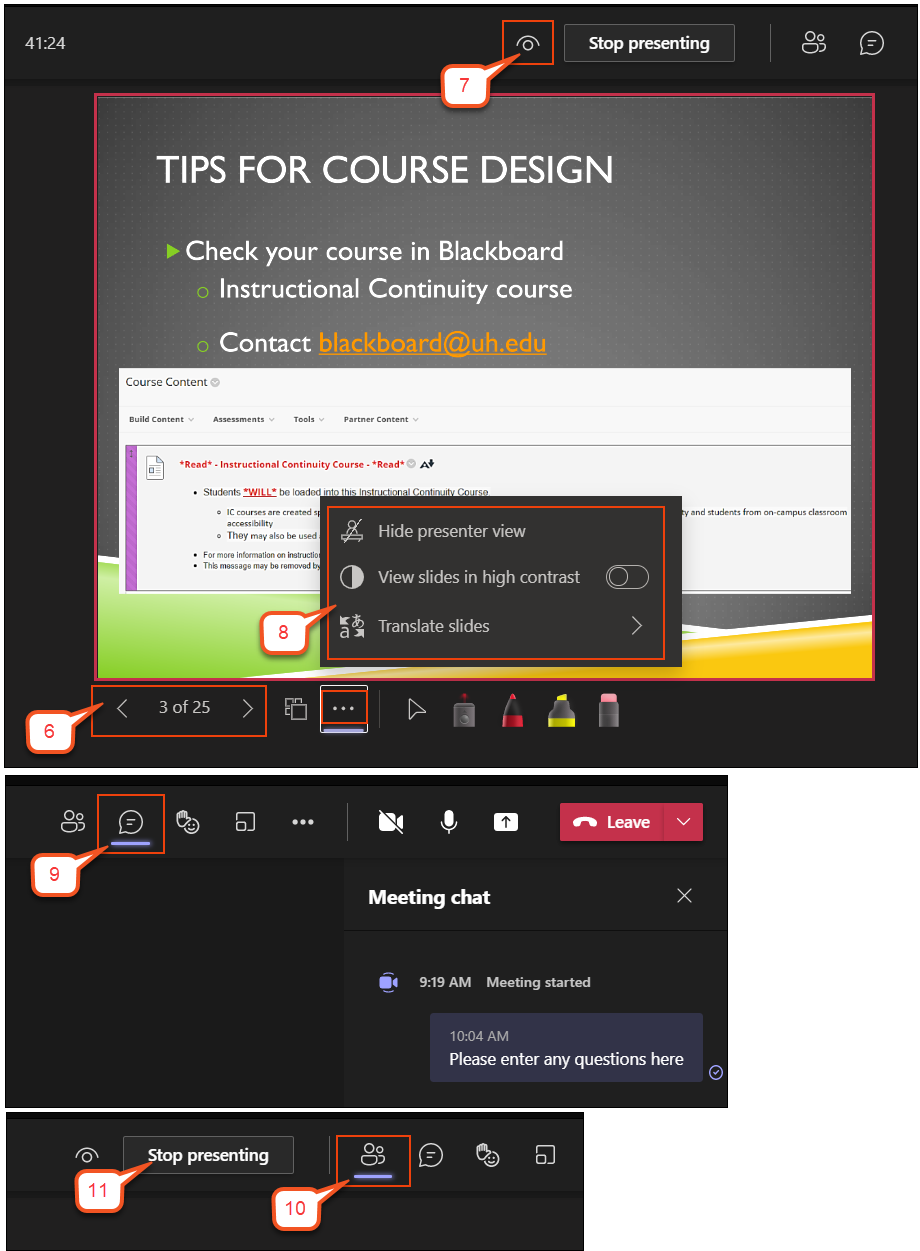
Note: If you open a PowerPoint file under “PowerPoint Live” and use laser pointer, pen, and highlighter tools during the meeting presentation. The annotations can’t be recorded in a meeting recording. - After the presentation shown in Teams, use the arrows to navigate forward or back the slide.
- Click the “eye” icon to prevent students from moving through the PowerPoint presentation on their own.
- Click … (more options) to select Hide presenter view, Views slides in high contrast, or Translate slides.
- Click the “show conversation” icon to see the chat.
- Click the “show participants” icon to see the participants.
- To end sharing the presentation, select Stop presenting button.