- /
- /
- /
How to Fix PDF Accessibility Issues in Adobe Acrobat Pro DC 2019 (Windows 10)
Note: This article covers software available from the UIT Software Downloads page at no cost (Cougarnet ID credentials required).
Part I: Setting up Adobe Acrobat
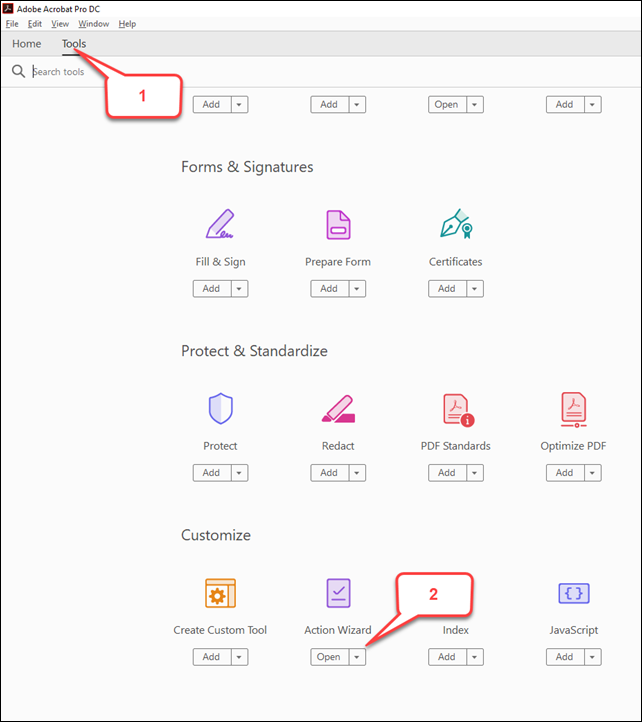
Step 1: Add the Action Wizard from Tools
- On the Home screen tab, click the Tools
- On the Tools tab, locate the Action Wizard tool (under the Customize heading) and click Add.
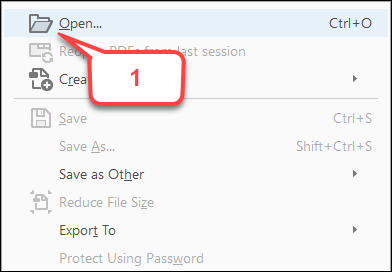
Step 2: Open a Document
- In the Menu Bar, click File.
- Select a PDF document from the System Dialog Window.
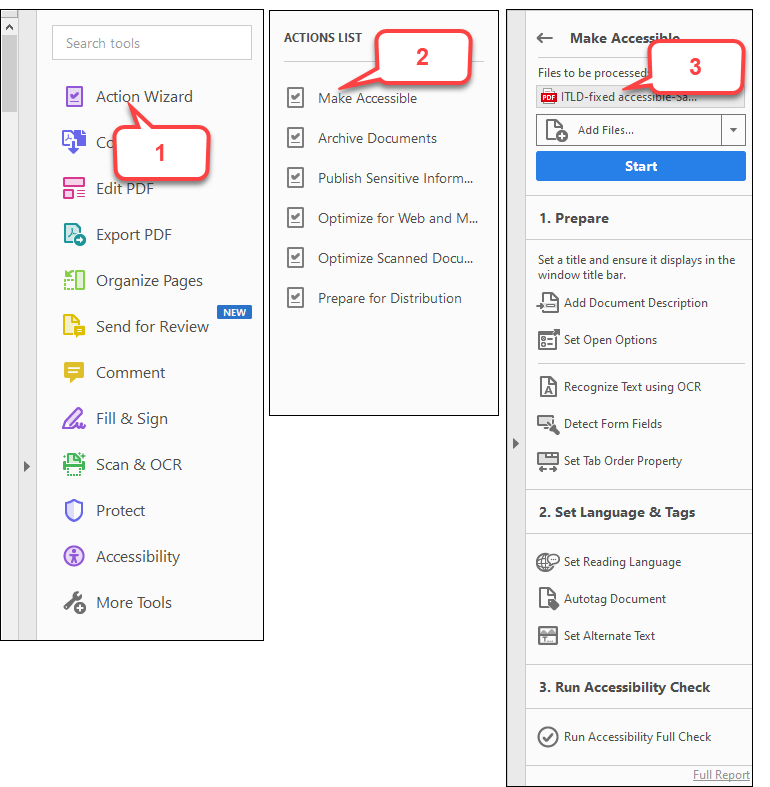
Step 3: Navigating to the Action Wizard
- In the Secondary Toolbar (right-hand pane), click the Action Wizard tool icon.
Note: If the Action Wizard is difficult to locate, click the expand button (long vertical bar with an Arrow), to view the Tool icons with text labels. - In the Action List, select Make Accessible.
- The right-hand pane changes to display the current Files to be processed, each task included in the Make Accessible action, as well as the instructions to execute the action.
Note: By default, the action runs on the document that’s currently open.
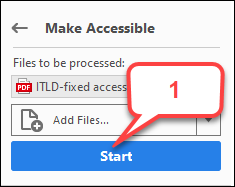
Step 4: Start the Action Wizard (Review and Fix All Issues)
To sequentially complete all tasks required to make a fully accessible PDF:
- Click Start to launch the wizard.
- Follow the prompts to complete the Make Accessible action.
- On the Menu Bar, click the Save button to finish.
Note: Some documents may only have a few accessibility issues and might not require reviewing/completing all the tasks in sequence. The following are some common accessibility issues that critically impact users of assistive technology:
- Add Document Description (Title)
- Recognize Text using OCR
- Set Reading Language
- Autotag Document
- Set Alternate Text
The remaining steps in this Article will cover how to individually complete all the tasks in the Make Accessible Action Wizard.
Part II: Completing Action Wizard (Make Accessible) Tasks
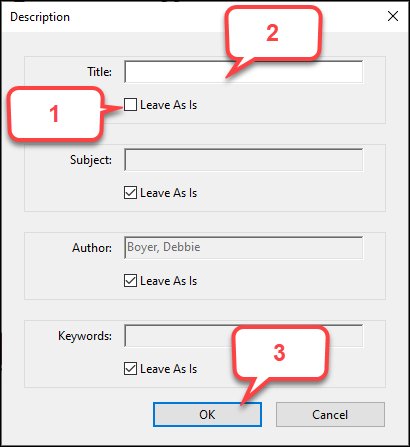
Step 5: Add Document Description
- Uncheck Leave as is.
- Input title in the Title of Document field.
- Click Ok to continue.
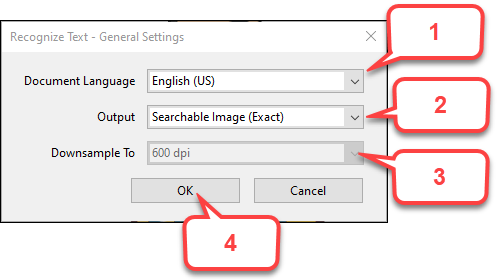
Step 6: Recognize Text using OCR
- Set Document Language to English (US).
- Set the Output option to Searchable Image Exact.
- Set the Downsample To option to 600 dpi.
- Click Ok to continue.
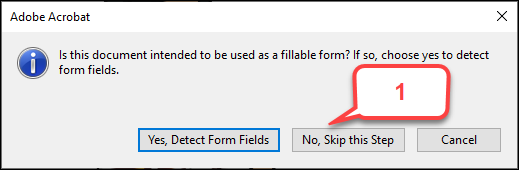
Step 7: Detect Form Fields
- Click No, Skip this Step to continue.
Note: If your document does have fillable objects / fields, please contact the EIR Accessibility Coordinator for support.
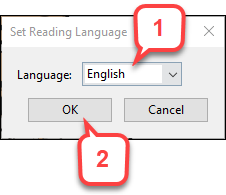
Step 8: Set Reading Language
- Set Language to English.
- Click Ok to continue.
Step 9: Autotag Document
Note: This task will be completed automatically after Setting the Reading Language. Otherwise, click the Autotag Document from the Action Wizard pane.
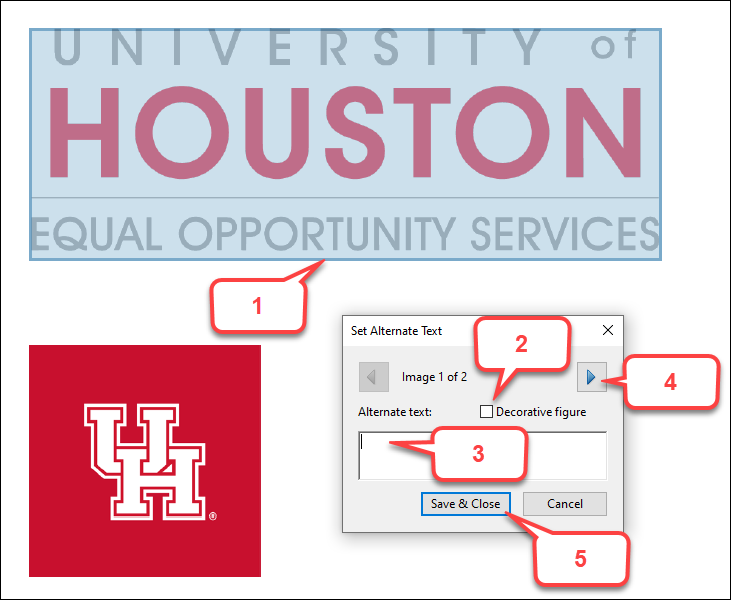
Step 10: Set Alternative Text
Note: If there is no image in the PDF file, this step will not be shown.
- A diaglog box will display the options for the highlighted image in the document.
- For decorative (or erroneously highlighted) images, check the Decorative figure option.
- Otherwise, input an appropriate image description.
- To proceed to the next image, click the right (next) arrow button.
- Click Save & Close to continue.
Part 3: Accessibility Check Report
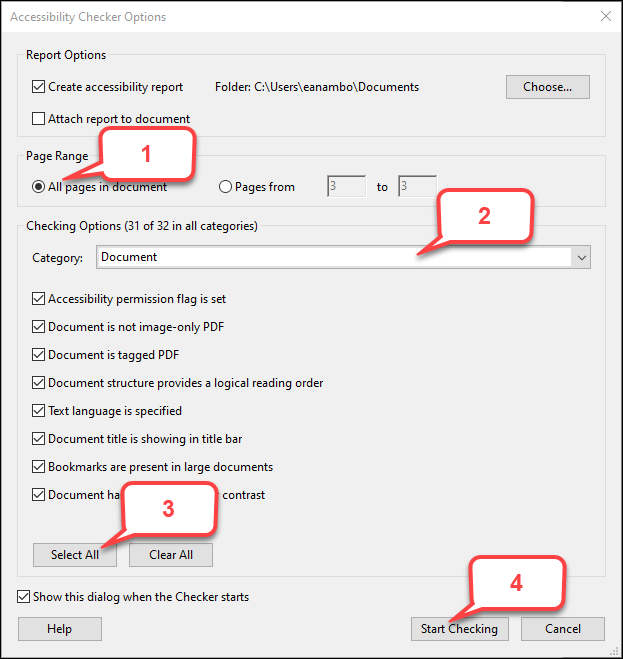
Step 11: Run Accessibility Full Check
Note: If you would like to save a separate document of the report to review at a later time, check the Create accessibility report option.
- In the “Page Range” option, select All pages in document.
- In the “Checking Options,” set the Category to Document.
- Click the Select All button to select all the checking options.
- Click Start Checking to produce a report.
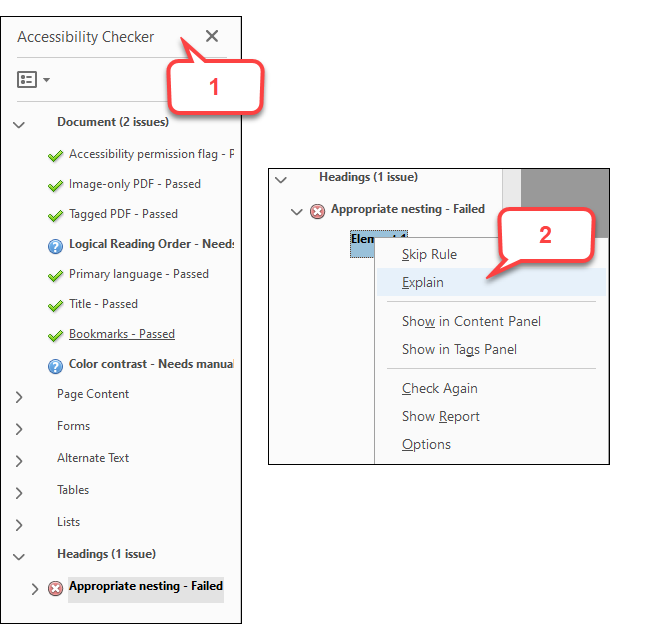
Step 12: Reviewing the results in the Accessibility Checker panel
Once a report has been run, the issues that have been found are displayed in the Accessibility Checker panel. The results tree displays one of the following states for each rule check.
- Passed: The item passed this accessible check.
- Passed Manually: The item was marked passed by manual inspect.
- Skipped By User: The rule was not selected in the Accessibility Checker Options dialog box.
- Needs Manual Check: The Full Check feature could not check the item automatically. Verify the item manually.
- Failed: The item did not pass the accessibility check.
- Review the issues in the Accessibility Checker panel.
- To investigate reported item, right-click and select Explain. This will open a support article from Adobe with more information on the issue.
- For assistance with fixing complex or advanced issues, please contact the EIR Accessibility Coordinator.