- /
- /
How to Post an Office Mix to Blackboard
Before posting to Blackboard, you need to upload your Mix to the web. View this tutorial “How to Upload Mix.”
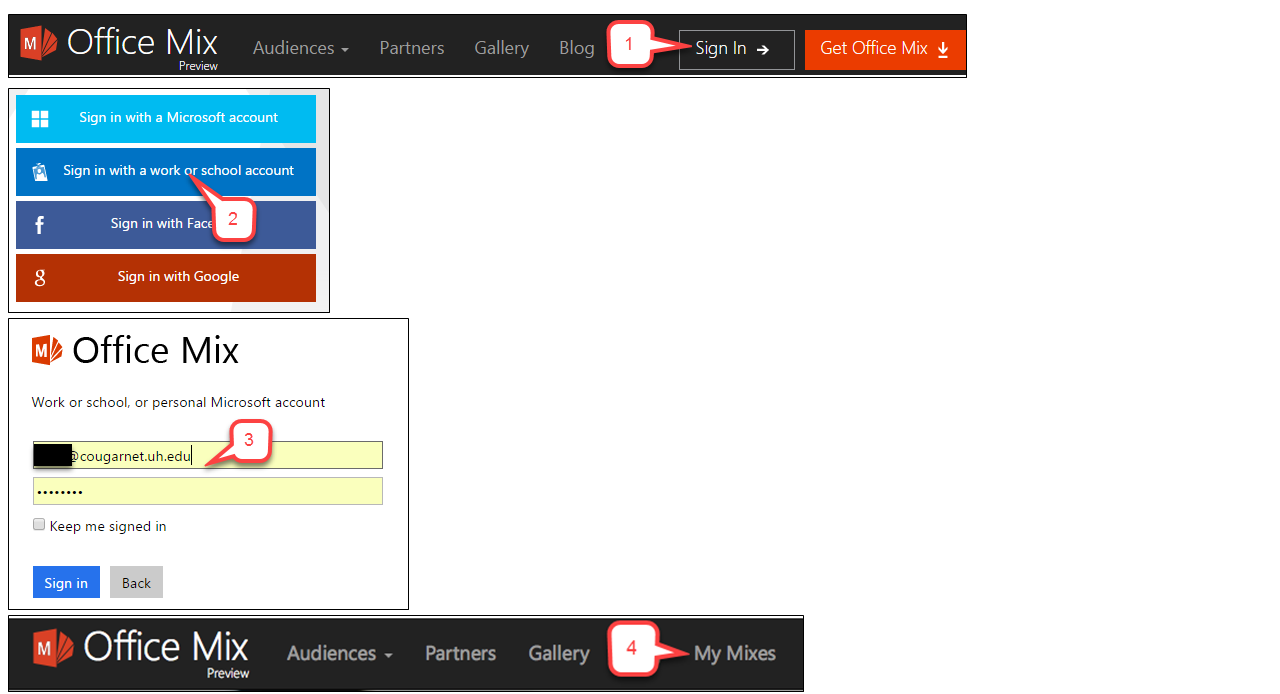
- Go to https://mix.office.com/, and click “Sign In.”
- Select “Sign in with a work or school account.”
- Enter your UH Office 365 account. For example, xxxx@cougarnet.uh.edu
- Click the “My Mixes” link at the top of the page.
- Find the Mix you want to share and click the “Details” link beneath the title.
- By default, the permissions for your Mix will be set to “Private”. You need to change that so others can view your Mix on the Web. Slide the permissions dialogue to the right to select the level of permissions. We suggest choosing “Unlisted”. For more information on permission levels, view this article: http://www.mixforteachers.com/decide-who-can-watch-your-mix.html
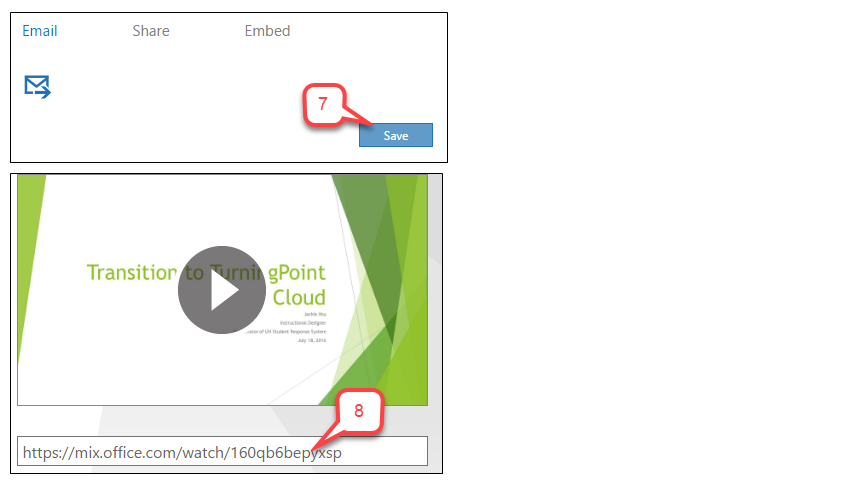
- After selecting your permission levels, click “Save”.
- Once your permissions are saved, copy the URL link below the Mix Preview.
- You can now add this link to your Blackboard course. For a tutorial on adding links, view this article: Create a web link in Blackboard.


Embedding a Mix into Blackboard
If you would like for your students to view your Mix within Blackboard, follow these additional steps.
- On the “Details” page of your Mix, click the “Embed” link beneath the Permissions dialogue box.
- Select the “small” size.
- Click the text box with the embed code and copy the code.
- In Blackboard, navigate to your course and the area where you want to embed your Mix. With the Edit Mode “On”, select “Build Content” and then “Item”.
- Give your Item a Name. In the text field, click the “HTML” button.
- When the HTML editor pops up, paste the embed code. Click “Update”.
- When the HTML editor closes, click “Submit” to save.
Watch this video for a quick walk through of these steps.