- /
- /
- /
How to Edit Subtitles/Captions on YouTube Video
After generating automatic subtitles/captions in your YouTube videos, you may need to edit or remove any parts that have not been transcribed correctly. You can use the subtitle editor to make changes to the texts and time codes of your subtitles.
Note: If you have not generated the automatic captions in your video, view the “How to Generate Automatic Caption in YouTube Video” tutorial.
- Log into your YouTube account.
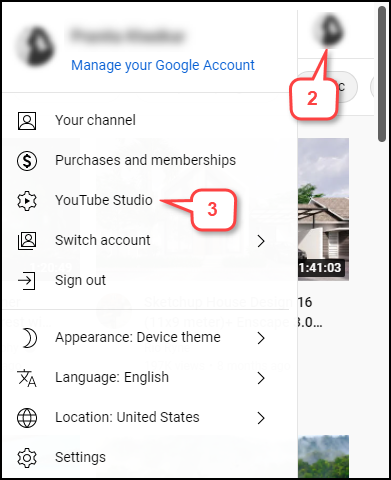
- Click your account picture in the top right corner.
- Select Youtube Studio.
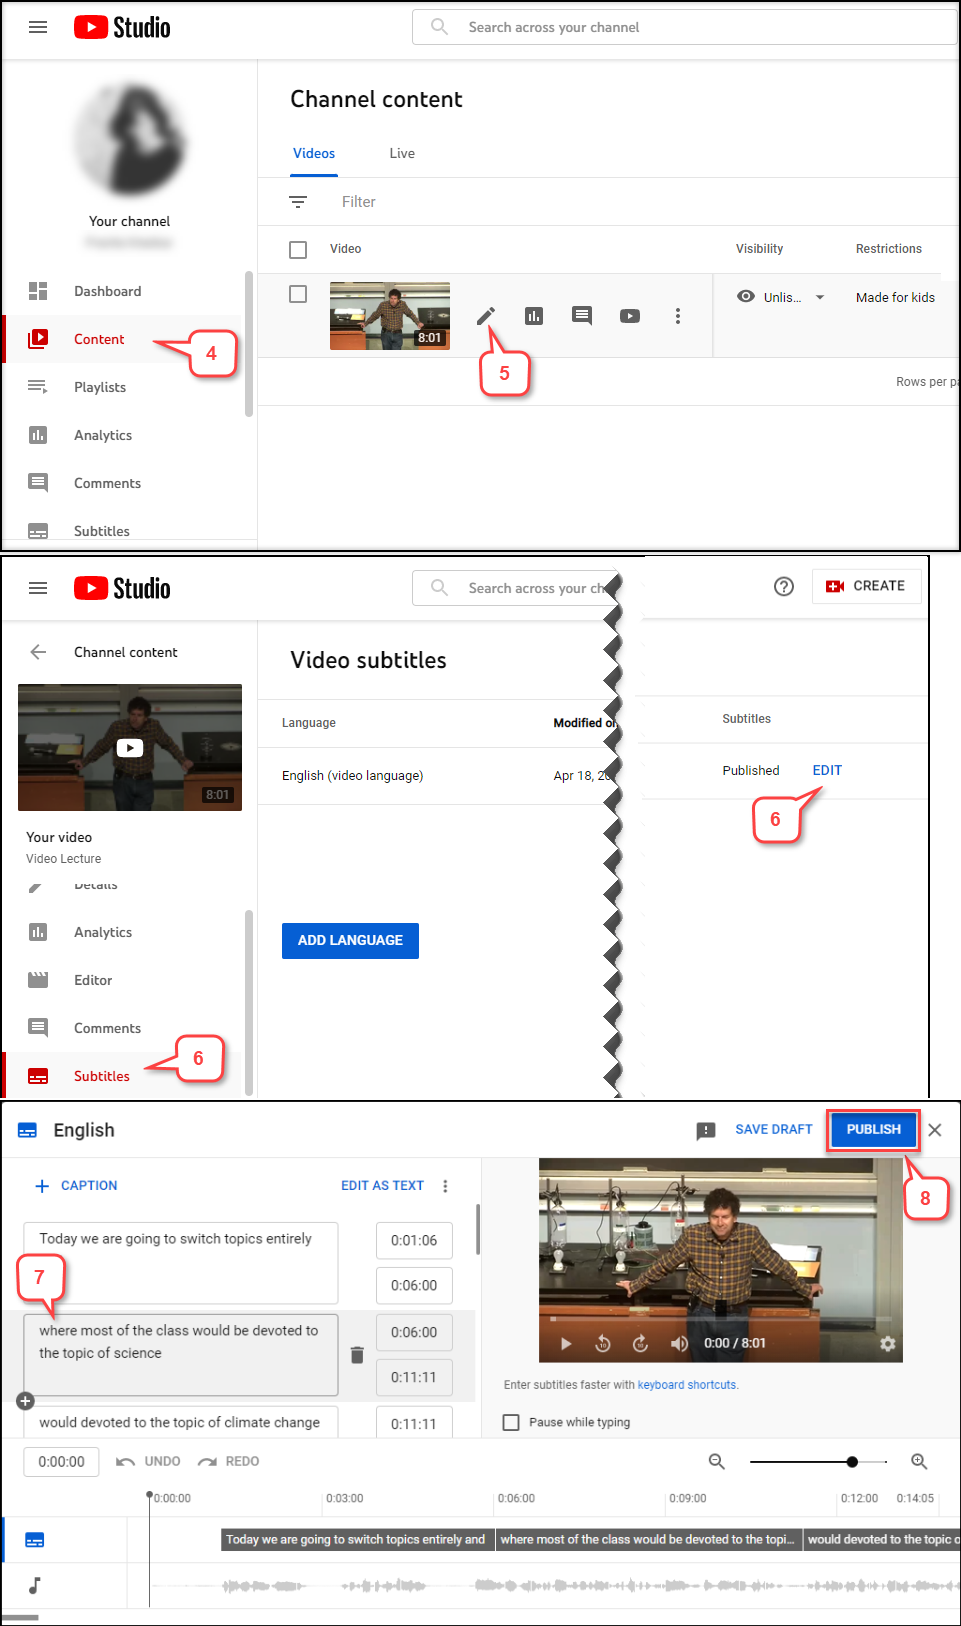
- Click Contenton the left side. It will show all the videos you have uploaded.
- Select the pencil icon (Details) for the video you want to edit.
- Select Subtitles and the Click on EDIT.
- Click on the caption text you want to edit.
- After editing, click Publish.
Note: Now, you will see both of “English (video language)” and “English (Automatic)” captions listed. If you want, you can remove the “English (Automatic)” captions.